Inside a Full Bathroom Rough-In for a Basement Suite in Aurora: What the Job Actually Involves, Start to Finish

Last updated: September 6, 2026
Published September 6, 2026 · Updated September 6, 2026

Basement bathroom rough in plumbing aurora what does it involve: it involves opening the concrete floor, cutting into the existing building drain, setting the drainage and venting for toilet, shower and lavatory, running new PEX hot and cold supply, pressure testing, and passing inspection before a single square of tile goes down. Everything after that is finish work. The rough-in is the part that decides whether the bathroom works for the next thirty years or leaks into a tenant’s ceiling in year two.
This walkthrough is written as a composite of how these jobs genuinely run for us in Aurora and across York Region, not as a single named client’s file. No invented names, no invented dates. Where we cite a real, specific job, we say so plainly.
- A basement bathroom rough-in in Aurora normally means breaking and re-pouring concrete, because the drainage has to fall by gravity into the existing building drain under the slab.
- If the sewer leaves the house above basement floor level, gravity drainage is off the table and you need a sewage ejector pit or an up-flush macerating system instead.
- Every fixture in a basement suite bathroom needs venting, and venting is a separate system from the water supply lines. Confirm the vent arrangement with your plumber against the Ontario Building Code before the slab closes.
- We run new basement supply lines in PEX, the same approach we used on a real King City primary bathroom where cracked terrazzo revealed years of slow leaking, and where we repiped the bathroom waste line and installed a Toto Aquia IV. No leaks since.
- A second suite in Aurora requires a building permit and plumbing inspection. Nobody signs off on buried drainage they cannot see, so the inspection happens while the trench is open.
- The single most useful add-on for a rented basement suite is a Moen Flo smart shutoff on the main, because it closes the water automatically when a tenant is not home.
Basement bathroom rough-in plumbing in Aurora: what does it involve?
If you are an Aurora homeowner turning an unfinished basement into a legal second suite, and you have a framing plan drawn but no idea what happens to the concrete floor, this section is for you. It is not for someone swapping a vanity on the main level. Basement work is a different animal because the drainage is under your feet, not behind a wall.
A basement bathroom rough-in is the buried and in-wall half of the job: drainage, venting, and water supply, all installed, tested and inspected before drywall and tile. Fixtures come later. The rough-in is where the layout gets locked in permanently.
What We Found
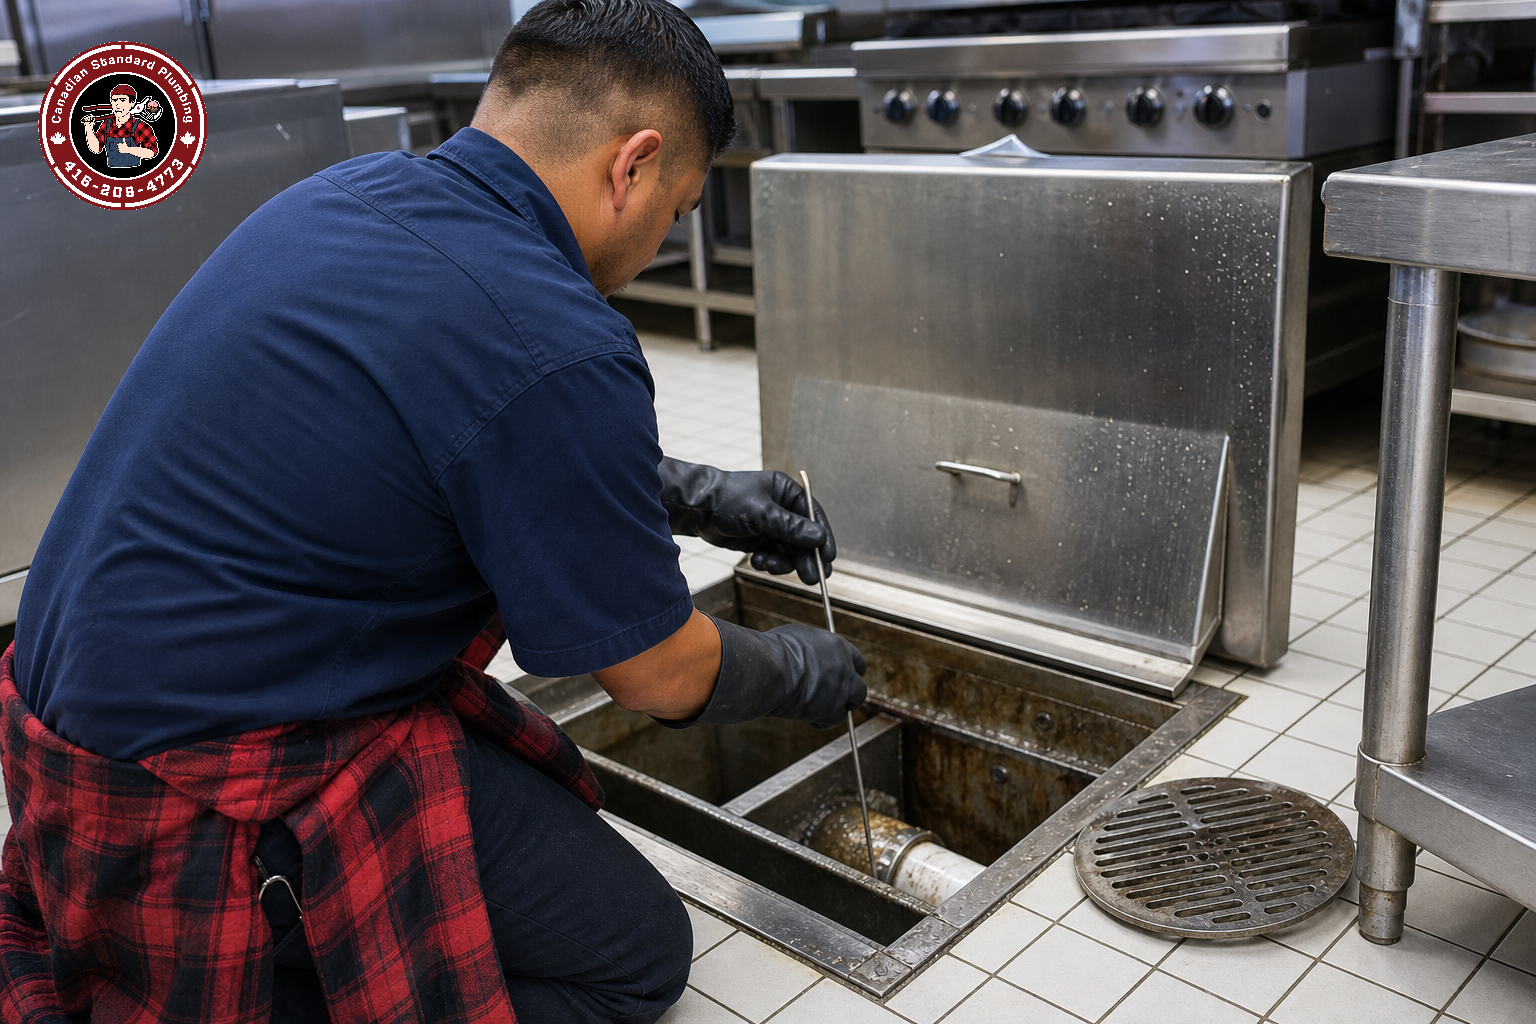
The first visit on an Aurora basement rough-in is not a plumbing visit, it is an investigation. We pull the cleanout cap (that sour, damp sewer smell is normal for about ten seconds), send a camera down the building drain, and trace where the line runs under the slab and at what depth it leaves the foundation wall. On older Aurora and Richmond Hill homes we sometimes find the drain running nowhere near where the owner’s designer drew the bathroom.
Two findings change everything. First, the elevation of the existing drain: if it sits deep enough below the slab, the new toilet, shower and lavatory can all drain by gravity. If the line exits high, gravity is out and the suite needs a sewage ejector pit or an up-flush system. Second, the condition of the existing drain itself. There is no point tying a brand new bathroom into a cracked, root-filled clay lateral.
On a lot of these jobs the camera earns its keep before the jackhammer ever comes off the truck. We also check the existing main shutoff. On rental conversions we frequently find a seized or weeping main valve, and we will not start a rough-in behind a valve we cannot close.
“We get two to three emergency calls a month from a half-finished DIY shutoff valve swap where the valve snapped off and the homeowner had no way to stop the flow. That is a Tuesday afternoon in a finished basement turning into a demolition job. Isolate at the main before you touch anything, or have someone do it who owns the tools to fix it if it goes wrong.” – Canadian Standard Plumbing Team
How We Solved It
A full basement bathroom rough-in in Aurora runs in a fixed order, and the order is not negotiable. Skip a step and you either fail inspection or you bury a problem in concrete.
- Camera the existing building drain and locate it. We scope from the cleanout and mark the drain’s path on the slab in chalk. The layout gets adjusted to the drain, not the other way around, whenever the framing plan allows it.
- Confirm the permit and layout with the Town. A second suite in Aurora is permit work. We coordinate the plumbing portion so the inspection lands while the trench is open, not after the mason has patched it.
- Cut and break the slab. Concrete saw first for a clean edge, then the electric breaker. It is loud, it is dusty, and it is the point of no return. We tent and negative-pressure the work area so concrete dust does not migrate through the whole house.
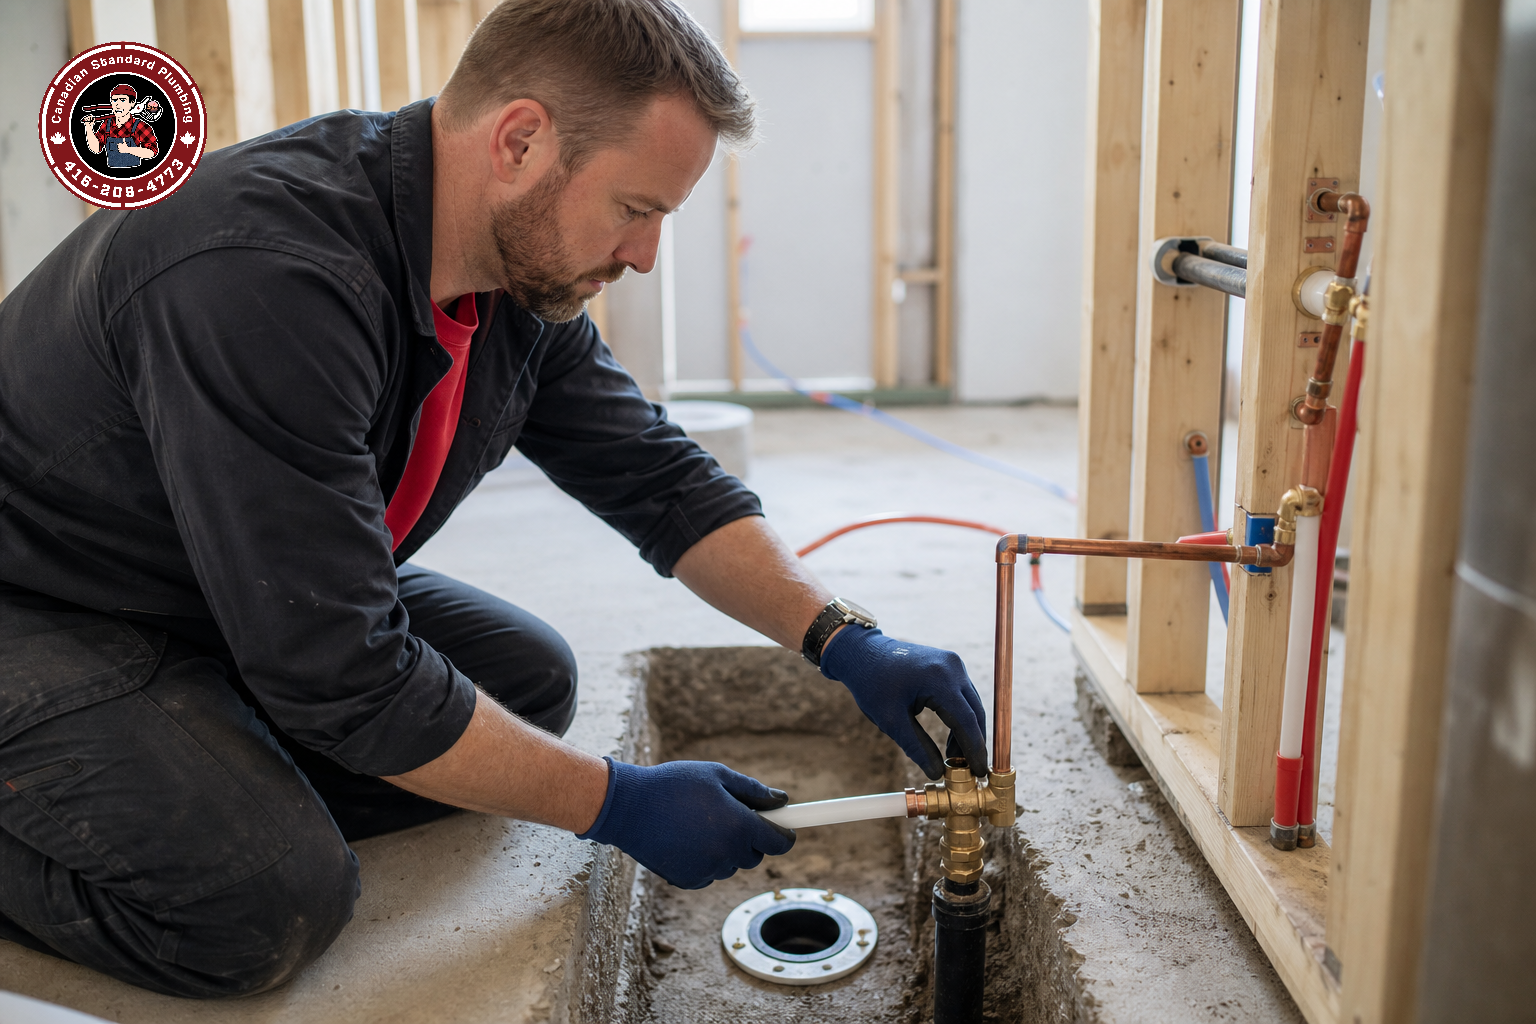
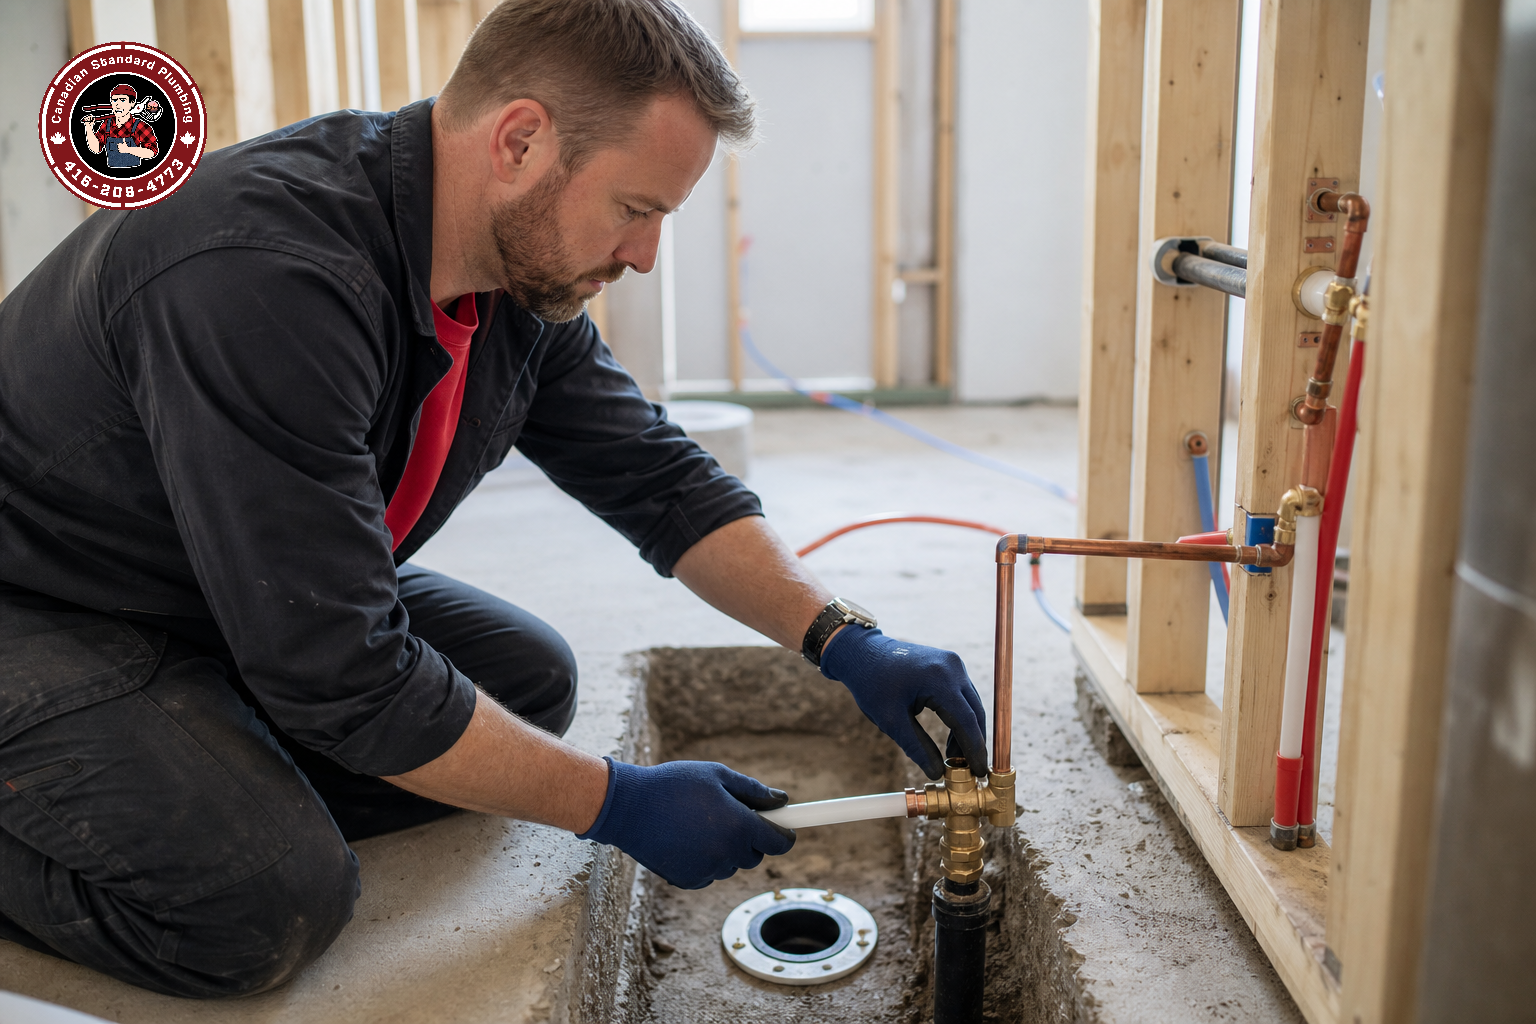
- Excavate, then cut into the building drain. The trench gets dug to the depth the fall requires. We cut in and set the connection so the new branch drains toward the main line, with the slope set by code rather than by eye. Your plumber should confirm the required grade against the current Ontario Building Code.
- Set the drainage: toilet, shower, lavatory. Closet flange location, shower drain, and the lavatory branch all get positioned to the finished fixture plan. Getting the toilet drain in the wrong spot is a second slab break, so we verify against the actual fixture spec sheet, not a generic drawing.
- Rough in the venting. Venting is its own system. Every trap needs protection so it does not siphon dry and let sewer gas into a tenant’s bedroom. Whether that is an individual vent, a wet vent or a connection to an existing stack depends entirely on the layout, and it is a conversation to have with your plumber before the walls close.
- Test the drainage and vent, then call for inspection. The system gets tested with the trench still open. Nobody, including us, signs off on drainage they cannot see.
- Backfill and pour the slab back. Compacted fill, then concrete flush with the surrounding floor so the tile setter is not fighting a hump.
- Run the water supply in PEX. New hot and cold branches from the main, with the hot line insulated where it runs through the cold joist space. We used the same PEX approach on a real King City bathroom where a years-long slow leak had cracked the terrazzo around the toilet: full waste line repipe in PEX, Toto Aquia IV installed, and no leaks since.
- Set the valves and pressure test. Shower valve body, isolation stops, and a proper accessible shutoff for the suite. We pressure test and walk away for a while, then come back and read the gauge. If it moved, we find out why now, not after tile.
- Optional but recommended on rentals: a Moen Flo on the main. A smart shutoff closes the water automatically on an abnormal flow pattern. In a suite you do not live in, that is the difference between a wet floor and a wet ceiling on the level above.
A basement bathroom rough-in in Aurora runs camera inspection, permit, slab cut, drain tie-in, drainage and venting, inspection, backfill and pour, then PEX supply and pressure test. Drainage and venting are one system; PEX hot and cold supply is a completely separate one. The inspection happens while the trench is open, which is why the sequence cannot be rearranged for convenience.
A basement suite bathroom that drains by gravity, vents properly, passes inspection the first time, and hands the finishing trades a floor they can tile flat. On the real King City bathroom repipe we referenced, the PEX waste line and Toto Aquia IV have stayed leak-free since installation. The measurable win on basement work is not speed, it is that nobody opens that slab again.
What actually drives the cost of a basement rough-in
We do not publish flat pricing for basement bathroom rough-ins in Aurora, because two basements twenty metres apart can be completely different jobs. What we do is scope the work on site and give you a written quote before anything starts. Here is what moves the number.
| Factor | Why it changes the job |
|---|---|
| Distance from the building drain | Every extra metre of trench is more concrete broken, more excavation, more fill and more slab to re-pour. |
| Gravity vs. sewage ejector | If the sewer leaves high, a pit, pump and sealed cover enter the scope, plus power and a dedicated vent. |
| Condition of the existing drain | Old clay or cast iron with root intrusion may need replacing before you tie new fixtures into it. |
| Venting route | A nearby stack is straightforward. A vent that must travel across a finished ceiling is not. |
| Fixture selection | A wall-hung toilet with a concealed carrier, or a curbless shower, changes the rough-in before you buy the fixture. |
| Permit and inspection coordination | Second-suite work is inspected work, and the schedule has to accommodate it. |
| Add-ons | Backwater valve, main shutoff replacement, or a Moen Flo smart shutoff on a rental suite. |
Choose the fixtures before we rough in, not after. That is the cheapest decision in this entire article. We regularly see homeowners select a toilet after the slab is closed and then discover the carrier or drain position does not suit it.
What This Means for Aurora Homeowners and Landlords
If you are a small landlord or a property manager running units across Aurora, Richmond Hill and Markham, the lesson from basement rough-ins is that everything expensive later was decided during the buried phase. A basement bathroom that vents poorly will smell. A trap that siphons will let sewer gas into a bedroom, and your tenant will call at 11 PM, not at 9 AM.
The second lesson is about how tenants treat drains. A basement suite shower on a long horizontal run collects hair faster than an upstairs one, and the reflex is to pour drain cleaner down it repeatedly. We see the outcome constantly: the lye chews the rubber gaskets in the trap, and a clog that a snake or a camera-and-auger visit would have cleared becomes a trap replacement. Put a hair catcher in the shower on handover day and tell the tenant to call instead.
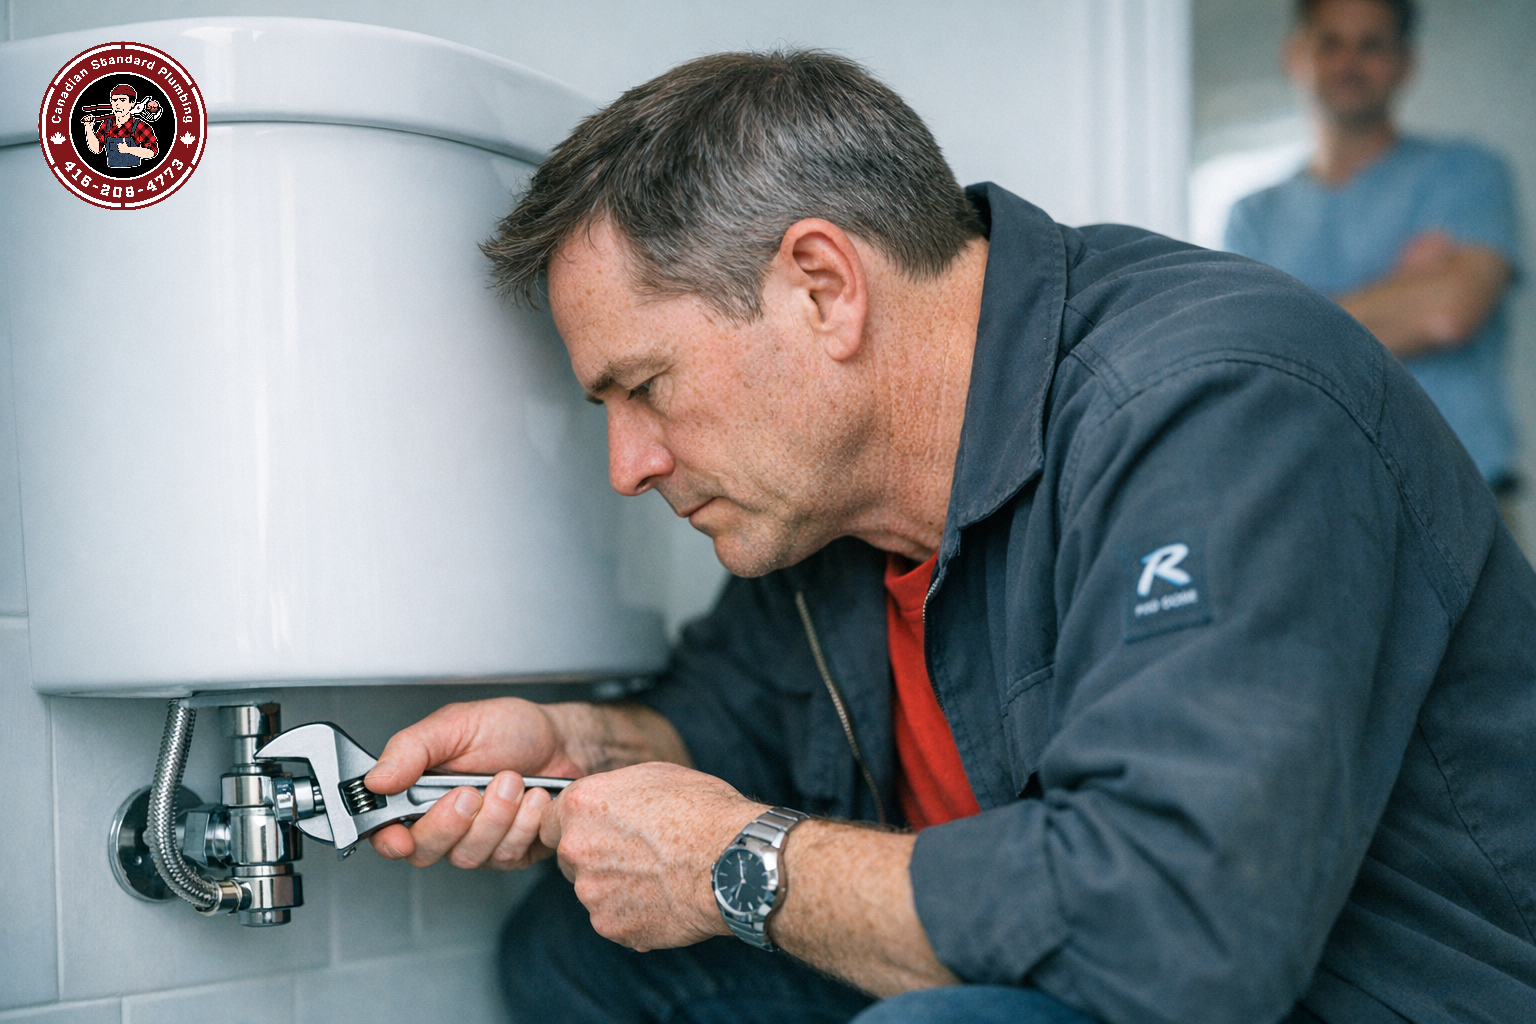
Third: the small stuff compounds in a unit nobody inspects weekly. A toilet that refills slowly is usually a fill valve, an inexpensive part and a short visit. Ignored, it works the tank seal loose and turns into a tank-to-bowl gasket job with water on a freshly finished basement floor. Ask your tenant to report a running or slow-filling toilet the week it starts, not the month it floods.
Our take after years of basement rough-ins across the GTA and York Region
Homeowners overweigh fixtures and underweigh the trench. We hear a lot of debate about Kohler versus American Standard versus Toto, and almost none about where the building drain runs or how the shower trap will be vented. The fixtures are the part you can change in an afternoon a decade from now. The drainage is the part you cannot.
The thing we would tell a friend converting their Aurora basement: get the camera inspection done before you pay anyone to draw a layout. Honestly, we did not appreciate how much money that one step saves until we watched a few projects redraw the entire bathroom around what the camera found, instead of jackhammering a second time. It reorders the whole budget in the homeowner’s favour.
And if the suite is going to be rented, spend on protection, not on chrome. A smart shutoff like the Moen Flo on the main, a working accessible shutoff for the suite, and a backwater valve if the property warrants one. We are available 24/7 for emergencies across Aurora, King City, Richmond Hill and the rest of York Region, but the goal of a good rough-in is that you never need that number. You can see the range of work we handle on our plumbing services page, or read more about how we work on our about page.
FAQ: Basement Bathroom Rough-Ins in Aurora
Do I always have to break the concrete floor for a basement bathroom in Aurora?
Breaking the slab is required for a basement bathroom in Aurora whenever the fixtures will drain by gravity into the building drain under the floor, which is the case in most Aurora homes with a deep enough sewer. The alternative is an up-flush macerating system or a sewage ejector pit, which avoids a long trench but adds a pump, power and a sealed pit to maintain. A camera inspection of the existing drain tells you which route is even available.
Does a basement suite bathroom in Aurora need a permit and an inspection?
Yes: a second unit in Aurora is permit work, and the plumbing portion is inspected before the trench is backfilled and the slab re-poured. That timing is the reason the job sequence cannot be shuffled around a tiler’s schedule. Confirm current requirements with the Town of Aurora building department and have your plumber coordinate the inspection window.
Should I pick my toilet and shower before the rough-in starts?
Pick the fixtures before the rough-in, always. A wall-hung toilet, a Toto Aquia IV, a standard American Standard two-piece and a curbless shower each want a different rough-in, and the spec sheet drives the drain and valve positions. Choosing after the concrete is poured is how a bathroom ends up with a second slab break.
How long is the water shut off during a basement bathroom rough-in?
Water to the house is only off during the supply tie-in and valve work, not for the whole basement rough-in, and we schedule those windows so the upstairs stays usable. What we will not do is start behind a seized main shutoff, because if that valve fails mid-job there is no way to stop the flow. If your main valve weeps or will not close fully, we replace it first, properly isolated.
Sources
- Building code requirements governing drainage, venting and plumbing installations in Ontario – Government of Ontario, Ontario’s Building Code
- Requirements and considerations for adding a second unit to a house – Government of Ontario
- Municipal building permits and inspections for Aurora properties – Town of Aurora
- Toto Aquia IV product specifications referenced in the King City bathroom job – TOTO
Canadian Standard Plumbing
Owner-operated by Daniel and his team, serving Aurora, King City, Richmond Hill, Markham, Vaughan and the wider GTA. Camera inspection first, written quote before work starts, 24/7 emergency response when you need it.
Get a Written Quote for Your Aurora Basement Bathroom Rough-In →
- Kohler vs Toto vs American Standard: Which Elongated Toilet Fits a Narrow Markham Bathroom Without Rough-In He
- Pipe Lining vs Full Repipe: Which Drain Repair Method Actually Makes Sense for an Aging Toronto Semi-Detached
- A Markham Homeowner Asked: “Can You Fix a Pinhole Copper Pipe Leak Without Replacing the Whole Line?” — Our Fi
- A Thornhill Property Manager Asked: “Our Condo Building Has Low Water Pressure on the Top Two Floors — What’s
- How We Re-Piped a 1962 Woodbridge Bungalow with Corroded Galvanized Pipes — and Restored Full Water Pressure i