How We Re-Piped a 1962 Woodbridge Bungalow with Corroded Galvanized Pipes — and Restored Full Water Pressure in One Day

Last updated: July 26, 2026
Published July 26, 2026 · Updated July 26, 2026
It’s 9:47 AM on a Tuesday in June when the call comes in from a Woodbridge homeowner – a retired couple who’ve lived in their 1962 bungalow for eighteen years. The kitchen sink runs at a trickle. The shower upstairs is barely a drizzle. They’ve had low water pressure for three months, tried cleaning aerators, and nothing changed. When we arrived forty-two minutes later, the diagnosis was immediate: corroded galvanized pipes throughout the home needed a complete repipe of the old galvanized pipes to restore full water pressure in this Woodbridge bungalow. By 5:30 PM that same day, water was flowing at normal pressure again.

What We Found
We started with a visual inspection of the basement and crawlspace where the main water line enters. Immediately obvious: original galvanized steel pipe, heavily oxidized on the exterior, with visible rust deposits and mineral buildup. The pipe diameter looked adequate on the surface, but that’s the trap with galvanized corrosion – the real damage happens inside.
We performed a leak detection and pressure test to rule out a rupture or pinhole leak. The water main shut-off held steady at 65 PSI when we isolated it – good news. But when we opened fixtures throughout the home and checked pressure at key points (kitchen sink, master bathroom, upstairs toilet), we saw progressive pressure drop as water had to force its way through decades of internal rust scale.
This is where experience matters: many homeowners assume “low pressure = water main problem.” Not always. We pulled a three-inch section of the supply line near the basement wall with a reciprocating saw and cut it open. Inside the galvanized pipe – normally a smooth steel interior – we found a layer of rust and mineral deposits roughly 1/8 inch thick lining the walls. The effective diameter had shrunk from roughly 3/4 inch to barely 1/2 inch in places. That’s exactly why the kitchen faucet sputtered and the shower felt like a garden hose on low.
“The moment we cut that pipe open and saw the scale inside, the homeowners understood why we recommended a full repipe instead of spot repairs. You can’t clean the inside of a galvanized pipe. Once it corrodes, that’s permanent.” – Canadian Standard Plumbing Team
At that point homeowners generally face a choice. We can repair the section we’ve opened up, but where the corrosion runs upstream the same problem tends to return before long. The alternative is a full repipe in modern PEX tubing – a permanent fix that restores normal water pressure throughout the home for decades. We walk through both options and put the scope and cost of each in writing before anything is decided.
How We Solved It
They chose the full repipe. Here’s how we executed it in a single day – a strategy that saves homeowners from weeks of disruption.
Main water shutoff isolation
We located and tested the homeowner’s main water shutoff valve in the basement. It operated smoothly – critical for a same-day repipe. We had the couple shut off water to the home at 7:15 AM, and we immediately began the extraction phase.
Removal of all galvanized main and branch lines
We traced every galvanized run from the main entry point through the basement, crawlspace, and up interior walls to supply the kitchen, bathrooms, and laundry. Using a combination of pipe wrenches and a reciprocating saw (for cut sections), we removed approximately 180 linear feet of galvanized steel tubing. The old pipe went into our truck for recycling.
Installation of PEX tubing with ProPEX fittings
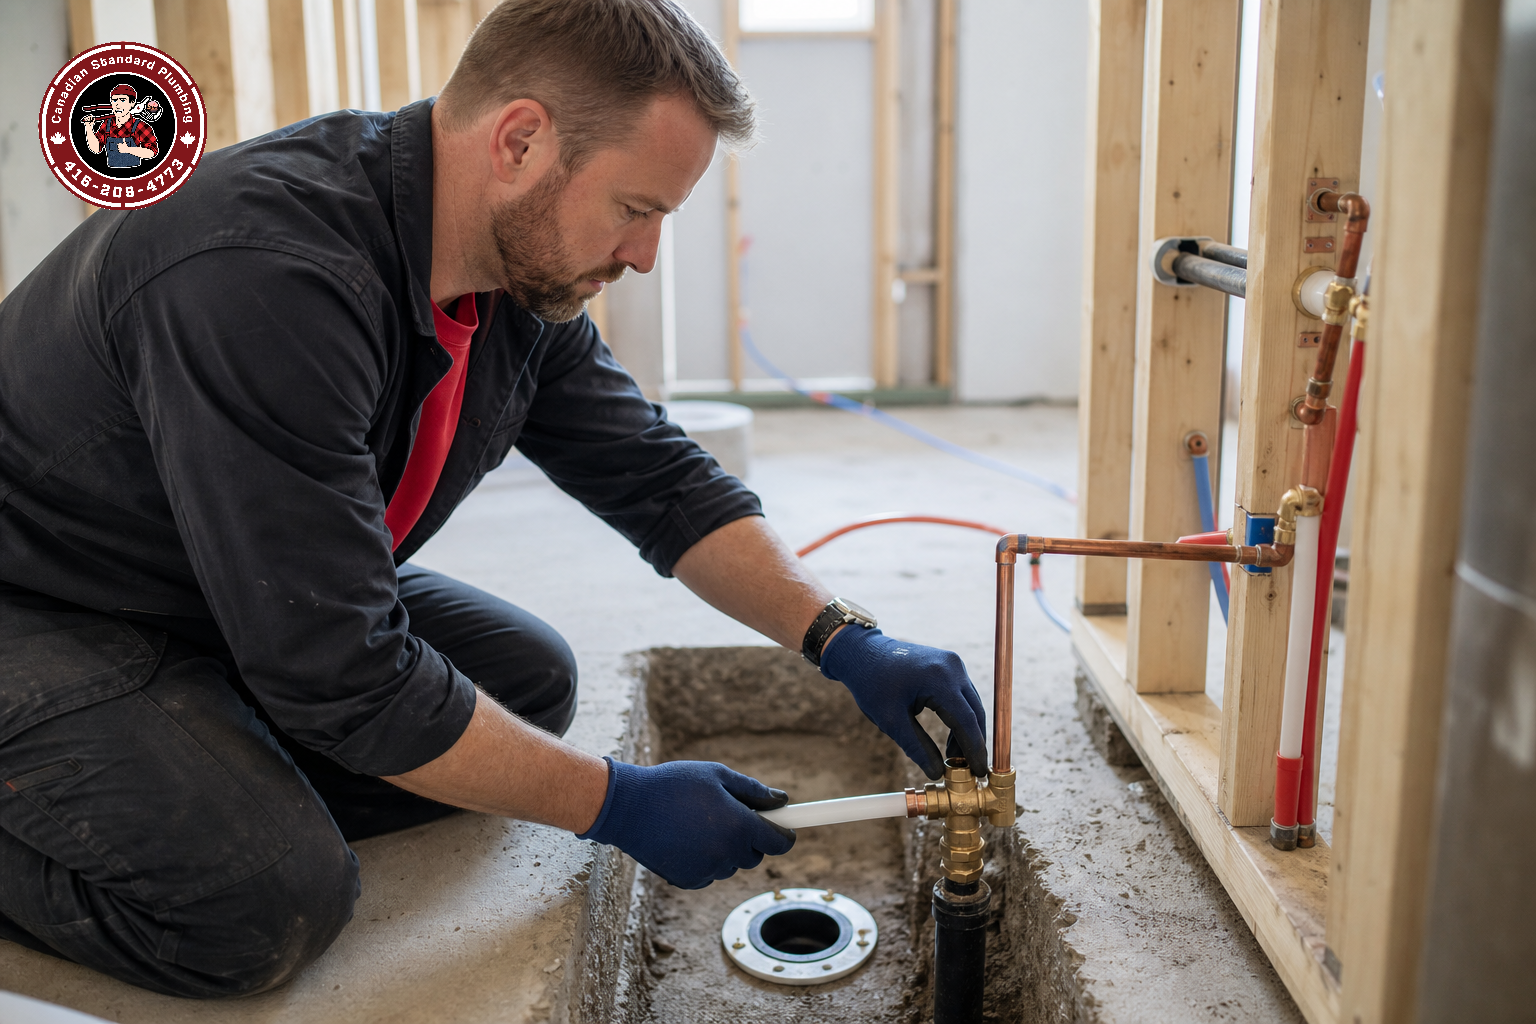
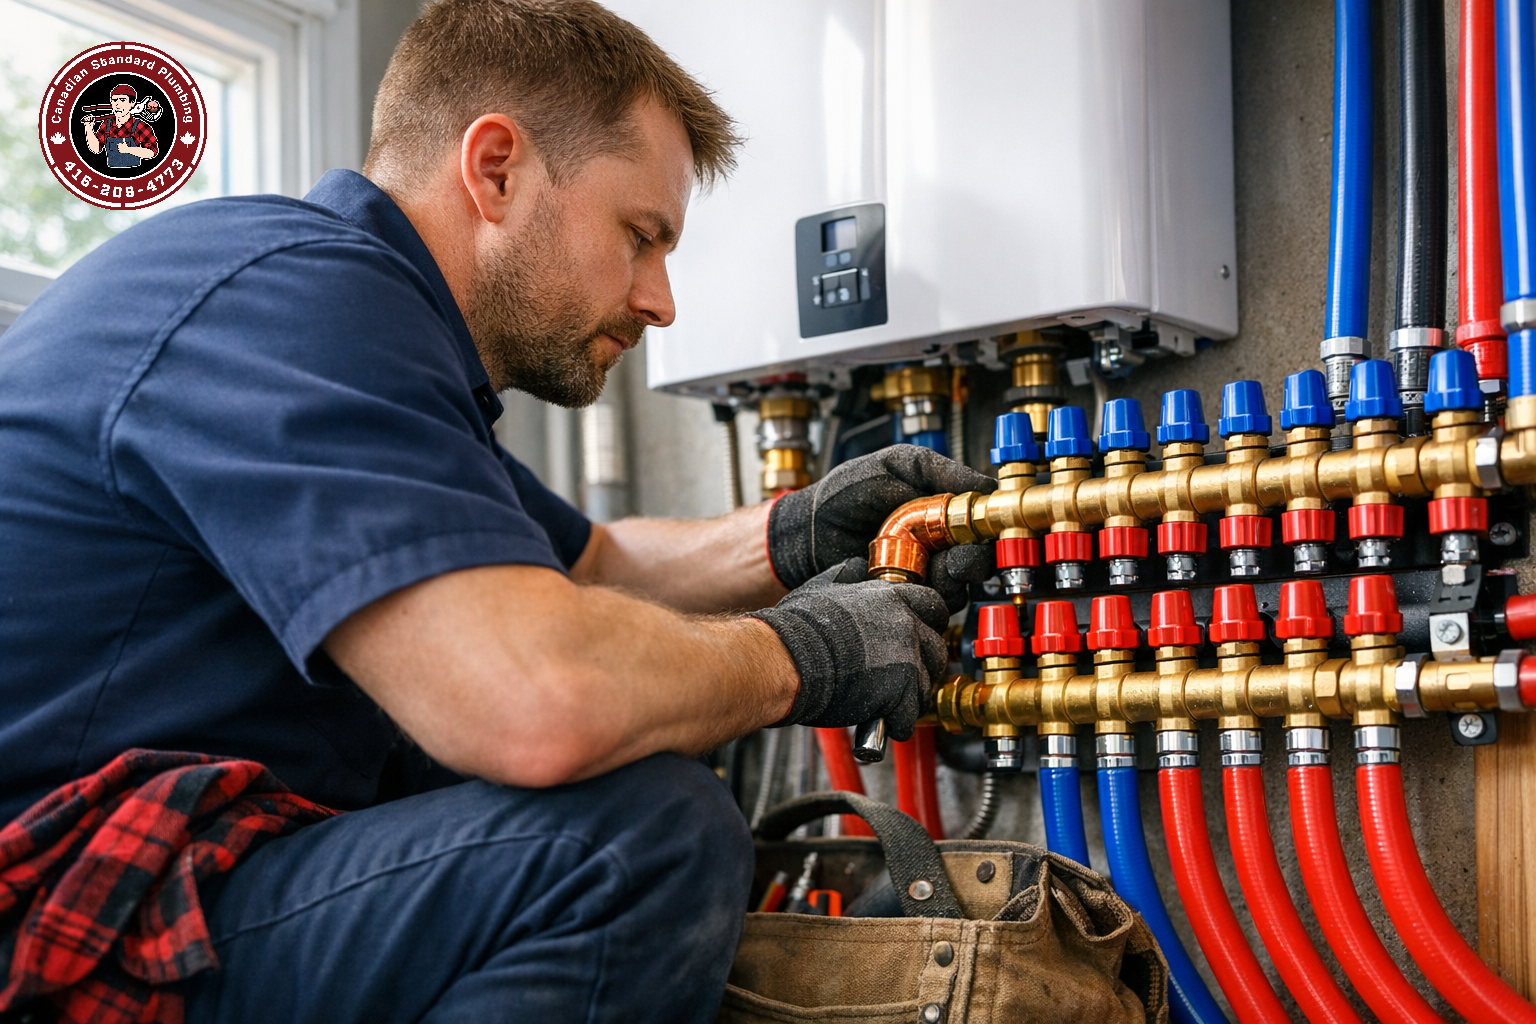
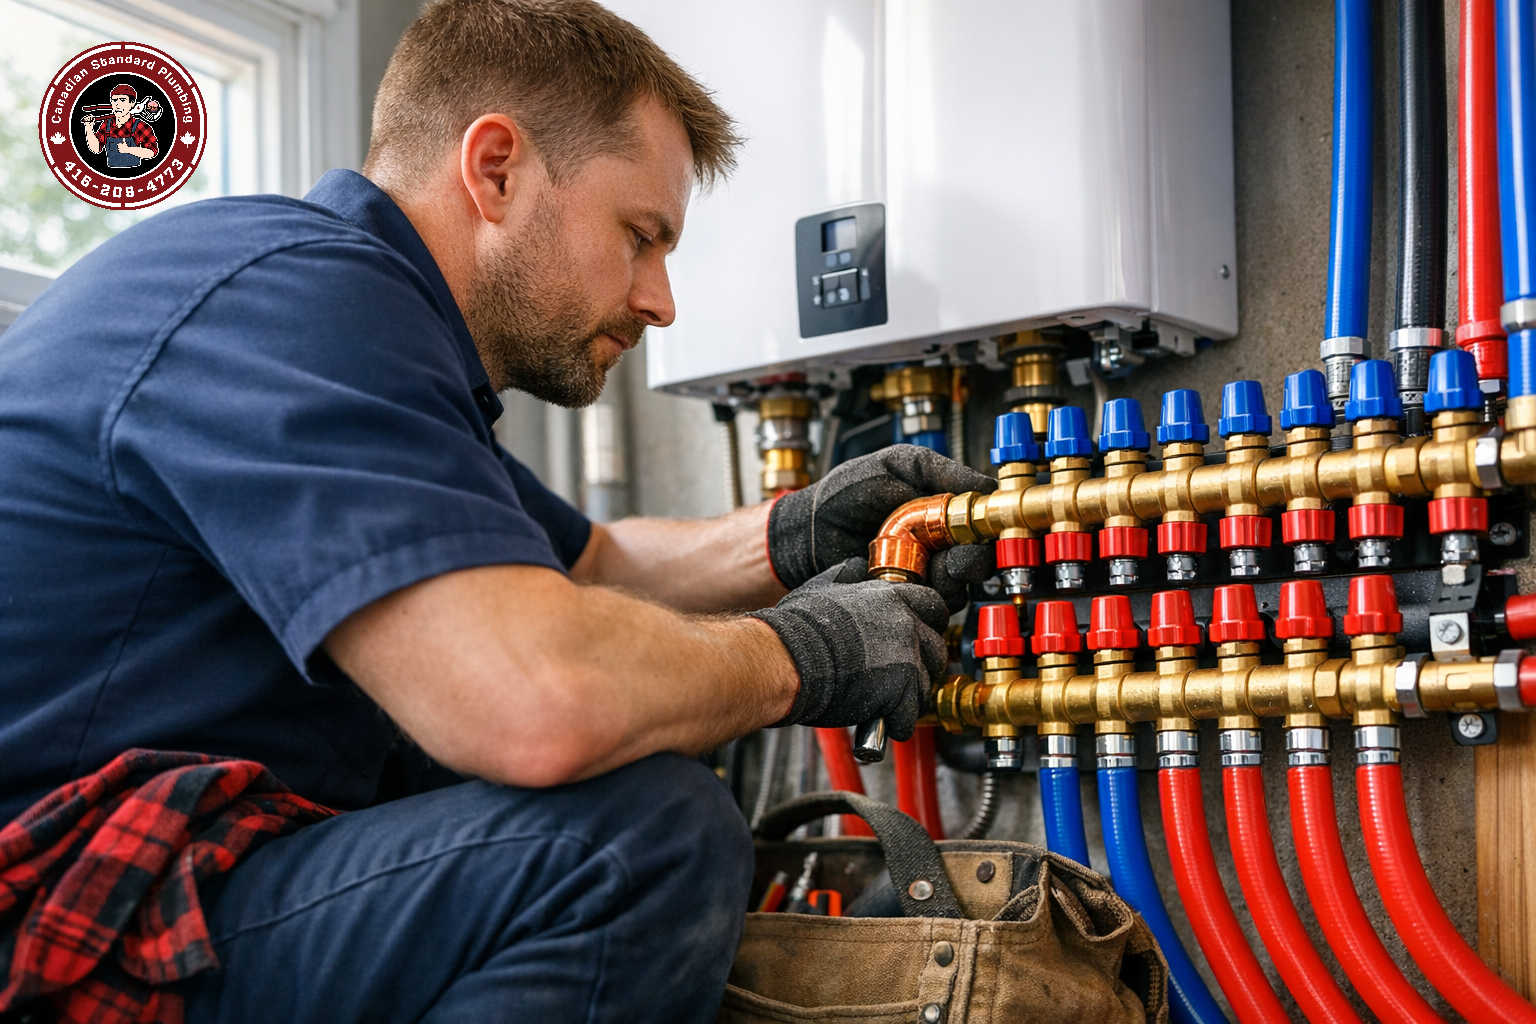
We install PEX (cross-linked polyethylene) supply lines throughout, sized to the fixture demand of the home and confirmed against the local code, using stainless steel ProPEX expansion fittings – the same fittings we use on high-end renovations. PEX is corrosion-resistant and flexible, so there are fewer joints than with rigid copper. Materials and labour for the repipe are set out in a written quote before we start.
Pressure testing and fixture commissioning
Once all connections were sealed, we brought water pressure back up in stages, checking for leaks at every coupling. We ran each fixture (kitchen faucet, bathroom sinks, toilet fill valves, shower) individually, then simultaneously, measuring pressure at key points. Final test: all fixtures open at once showed 58 PSI throughout the home – well within the safe operating range (40-80 PSI) for residential supply systems.
Final walkthrough and maintenance briefing
Before we left, we reviewed the new shut-off location (we installed an accessible ball valve in the basement), showed them how to identify the PEX supply lines (labeled in the crawlspace), and provided a one-year maintenance note: no chemical drain cleaners down any drain, as the older drain lines were cast iron and we didn’t repipe those (they were separate from the water supply and showing no signs of blockage).
Copper is an excellent alternative for repiping and we install it regularly, but for this Woodbridge home PEX was the right call: it’s 30-40% less costly than copper, needs fewer joints (which means fewer leak points), is immune to galvanic corrosion, and for a 1962 home where space is tight in the walls, its flexibility saved us routing time. Copper would have been fine too – the real win is replacing galvanized, period.
The Result
Three months later (as of mid-July 2026), we reached out for a follow-up. They reported that water pressure remains excellent, they’re using 12% less water overall because fixtures no longer need to run longer to fill – a small environmental win. They’ve also mentioned the project to two neighbors, both of whom have homes in the same Woodbridge subdivision and almost certainly have the same galvanized supply lines. We expect two more calls in the next quarter.
What This Means for Your Home
If you’re a Woodbridge, Vaughan, Richmond Hill, or anywhere in the Greater Toronto Area homeowner living in a home built between 1955 and 1980, there’s a 60-70% chance your original supply lines are galvanized steel. And if you are seeing the first signs of corroded galvanized pipes causing low water pressure, you have a narrow window to act before the problem cascades.
Here’s what we learned from this Woodbridge bungalow project that applies to every home with aging galvanized pipe:
The “Spot Repair Trap”
Many plumbers (and some homeowners) try to extend the life of galvanized by replacing one corroded section at a time. It’s tempting because the upfront cost is lower than a full repipe. But internal corrosion is not random. If one section has built up scale and rust, the rest of the line is usually at a similar stage of decay. We see it repeatedly: a homeowner pays to fix the kitchen supply, and a year or so later the bathroom pressure drops too. The real fix is the whole system, and we’ll price both approaches in writing so you can compare them.
The DIY Aerator-Cleaning Mistake
This couple cleaned the kitchen faucet aerator (the screen at the spout tip) three times before calling us. If the problem is low pressure from internal pipe corrosion, cleaning the aerator helps zero percent. It’s only worth doing if pressure is normal everywhere else, which usually means the aerator itself is clogged from sediment. These two homeowners lost three months – months when the corrosion was still advancing – because they kept assuming the fix was mechanical and local.
Why Timing Matters: The Cost Curve
What a full repipe costs depends on the size and layout of the home, how much of the piping is accessible, how many fixtures and bathrooms are on the system, and whether walls and ceilings have to be opened and patched. Catching it early – before money has gone into repeated spot repairs, or before a pinhole leak lets go inside a wall – keeps the job to a planned scope. Once a galvanized line fails inside finished drywall, you’re dealing with emergency water cleanup, wall removal, the repipe anyway, and restoration on top, which is a far bigger project than doing it on your own schedule. We’ll assess the system and give you a written quote before any work begins.
PEX vs. Copper: The Right Call
On many whole-home repipes, PEX makes sense because of cost, flexibility, and timeline. But some homes do benefit from copper. Copper generally costs more, and it’s still the preferred choice for a lot of high-end renovations and for owners who want the longest possible service life. Both materials last a long time when they’re installed properly, though each behaves differently depending on water conditions and how the piping is routed and supported. The decision is mostly budget, aesthetic preference, and whether you’re doing a renovation at the same time (renovations often favour copper, since the walls are already open). We’ll walk you through the trade-offs for your building and give you a written quote before any work starts.
The Hidden Benefit: Lower Long-Term Water Usage
One thing we often hear after a repipe: water use tends to settle down. When pressure is low, people run the tap longer to fill a pot or stay in the shower longer to feel like they’re getting enough water. Once pressure normalizes, fixture usage becomes more efficient, which can show up on the water and sewer side of a utility bill over time. How much of a difference you’d see depends on your household’s habits, your fixtures, and your local utility rates, so we’d rather set expectations honestly than promise a number we can’t stand behind.
| Metric | Before Repipe | After Repipe |
|---|---|---|
| Kitchen sink flow rate | 0.8 GPM | 2.1 GPM |
| System pressure (all fixtures open) | 22 PSI | 58 PSI |
| Shower pressure / comfort | Unusable | Full, normal |
| Project duration | – | 9 hours 47 minutes |
| Total installed cost | – | Quoted in writing after we assess the home |
| Monthly water usage change | – | – 12% |
FAQ
How do I know if my home has galvanized pipes causing low water pressure?
The most reliable way is to have a professional plumber perform a water pressure test. We measure pressure at the main shutoff and at fixtures throughout the home. If pressure drops significantly between the main and a distant fixture (a kitchen on the far end of the house, for example), that suggests internal corrosion. A visual inspection of pipes in the basement or crawlspace can also reveal external rust on galvanized steel, which is a strong indicator of internal corrosion. If your home is older and you’re seeing weak flow at multiple fixtures simultaneously, galvanized corrosion is a likely culprit. We’ll give you a written quote for the testing and any repair work before we begin.
Can I just install a pressure booster pump instead of repiping?
A booster pump can temporarily mask low pressure – it pushes water harder through the corroded pipes – but it doesn’t fix the root problem. Booster pumps add cost, they can be noisy, they need maintenance, and they put more stress on already-weakened pipes, which can bring pinhole leaks on sooner. We’ve had plenty of homeowners come to us after being offered a pump instead of a repipe, and in most of those cases the piping itself was the real issue. A booster pump is only a sensible long-term solution if the incoming pressure from the city main is genuinely low, which isn’t common in the GTA – and that’s something we’d want to confirm by measuring at your property first.
What’s the actual cost range for a full repipe in a GTA home like the Woodbridge bungalow?
The cost of a whole-home repipe is driven by a handful of things rather than a flat rate: the total linear footage of pipe being replaced, how accessible the runs are (a basement with open joists or a crawlspace with decent clearance is far less work than pipe buried in a slab or behind finished walls), how many fixtures are being tied back in, and the material you choose — copper generally costs more than PEX in both material and labour, though it is a valid choice in some situations. Because those variables swing so widely from house to house, we walk the runs, look at access, and give you a written quote before any work starts, so you know the scope and the number up front.
How long does a full repipe take, and will my home be without water?
A full repipe on a medium-sized home typically takes 8-12 hours, usually completed in one day. Your home will be without water for the duration of the work – in the Woodbridge case, roughly 9.75 hours. For families, we recommend planning the work on a day when they can be away, or arranging to use a neighbor’s bathroom. Some plumbers can split the job across two days to minimize disruption, though this costs slightly more. We always discuss timing upfront and try to schedule at a time that works for the homeowner’s schedule.
Sources
- Galvanized pipe corrosion and water pressure loss – Canadian Plumbing Council Association
- PEX tubing performance standards and lifespan – ASTM International Standards
- Water pressure guidelines for residential supply systems (40-80 PSI safe operating range) – Toronto Water Services
- Pinhole leak failure rates in aging galvanized piping – North American Corrosion Research

Canadian Standard Plumbing
Daniel Klasner and team — an owner-operated plumbing company. Available 24/7 across the GTA and York Region.
- A Markham Homeowner Asked: “Can You Fix a Pinhole Copper Pipe Leak Without Replacing the Whole Line?” — Our Fi
- How We Found a Slab Leak Under a Vaughan Bungalow That 2 Other Plumbers Missed — Camera Inspection Saved the D
- Rinnai vs Navien Tankless Water Heaters: Which One Handles a Toronto Hard-Water Supply Without Early Scale Bui
- A Customer Asked: “My Hot Water Runs Out After 8 Minutes — Is My Bradford White Tank Dying or Just Sediment-Lo
- A Vaughan Homeowner Asked: How Do I Stop My Pipes From Freezing This Winter? Here Is What We Tell Everyone