A Vaughan Homeowner Asked: How Do I Stop My Pipes From Freezing This Winter? Here Is What We Tell Everyone

Last updated: July 17, 2026
Published July 17, 2026 · Updated July 17, 2026
The answer: preventing frozen pipes requires three layers – insulation on vulnerable pipes, targeted heat tape in high-risk zones, and smart water monitoring for early detection. Yes, cracking a tap helps in an emergency, but it’s a band-aid, not a solution. The Toronto winters we see now regularly dip to – 10°C to – 15°C, and uninsulated pipes in exterior walls, attics, and crawl spaces fail in 6-12 hours once the freeze hits.
- Pipe insulation (foam sleeves or fiberglass wrap) is your first defense; heat tape is the second layer.
- Letting water trickle from a tap is a temporary emergency measure, not a winter strategy.
- Smart water monitors like Moen Flo can alert you to pressure drops that signal a freeze starting.
- Vulnerable zones: exterior walls, attics, basements near the foundation, and under unheated porches.
- Planned prevention work is almost always the easier path than an after-hours thaw and burst-pipe repair – we’ll put either one in writing before we start.
The Short Answer: How to Prevent Frozen Pipes Toronto Winter
How to prevent frozen pipes in Toronto winter boils down to three proven strategies: (1) wrap exposed and exterior-wall pipes with foam pipe insulation or fiberglass sleeves, (2) install self-regulating heat tape on the most vulnerable runs – typically those facing north or in unheated crawl spaces – and (3) install a smart water monitor like Moen Flo to alert you if water pressure drops, signaling a freeze in progress.
For most homeowners in Vaughan, Richmond Hill, and North York, insulating the exposed runs is the single biggest improvement you can make before winter. Heat tape adds protection for pipes that run along exterior walls or under unheated decks. If you skip prevention, a burst pipe can mean water damage well beyond the plumbing repair itself – how bad it gets depends on where the rupture happens and how long the leak goes undetected before anyone notices. We’ll walk the vulnerable areas with you and give you a written quote before any work begins.
The Full Answer: Preventing Frozen Pipes Step by Step
1. Identify Your High-Risk Zones First
Not all pipes freeze equally. In Toronto and GTA homes, the ones that fail first are those exposed to the outside. If you’re a homeowner in King City, Aurora, or any area with mature suburban lots, your highest-risk zones are almost always the same: exterior walls (especially on the north or west side of the house), attics with poor insulation, basements where pipes run near foundation cracks, and under decks or porches that don’t have heat below them.
Do a walk-through on a mild day. Feel the temperature of walls where you know pipes run. If the wall is cold to the touch, that’s a flag. Open your attic access and look at any water lines – if they’re not wrapped, they’re at risk. Check your crawl space or basement ceiling near the rim joist (the wooden band around the top of the foundation wall) because that’s where the main water supply often enters and is most vulnerable to outdoor cold radiating inward.
North and west exterior walls, attics, crawl spaces, and areas near rim joists are where freezes start. Prioritize insulating those zones first.
2. Insulate Vulnerable Pipes With Foam or Fiberglass Sleeves
This is the baseline defense and honestly, it’s the one most homeowners skip – then call us on a frozen January night when the first pipe fails. Self-adhesive foam pipe insulation sleeves are sold by the length at any home-improvement store in Thornhill or North York, and online. Wrap them around exposed supply lines, especially the main water entry and any branch runs that head toward exterior walls.
The foam doesn’t generate heat – it slows the rate at which cold outdoor air cools your pipes. In a typical Toronto basement on a – 10°C day, an uninsulated ½-inch copper pipe will reach freezing in 4-6 hours if water isn’t flowing. Wrap that same pipe in ¾-inch foam and you’ve extended the freeze time to 12-18 hours, which buys you time to deploy heat tape or open a tap if needed.
For attics and crawl spaces where foam alone may not be enough, use 1.5-inch fiberglass pipe wrap – it’s thicker and often rated for sub-zero conditions. Wrap it snugly, overlap the seams, and tape the overlap with duct tape or mastic tape to block air infiltration.
“The biggest mistake we see is homeowners wrapping the first 3 feet of a pipe from the meter, then leaving the rest bare. The freeze doesn’t care where the insulation ends – it travels the length of the line. Wrap the entire exposed run or don’t bother.” – Canadian Standard Plumbing Team
3. Install Heat Tape on Pipes in Extreme-Risk Areas
If you have a pipe that consistently gets colder than the rest – say, a line under an unheated deck in Concord or a basement run near a rim joist in Etobicoke – heat tape is your second layer. Self-regulating heat tape plugs into a standard outlet and automatically adjusts its heat output based on the pipe temperature, so it doesn’t overheat and waste electricity. Follow the manufacturer’s instructions for the product you buy, and confirm the electrical requirements before you plug anything in.
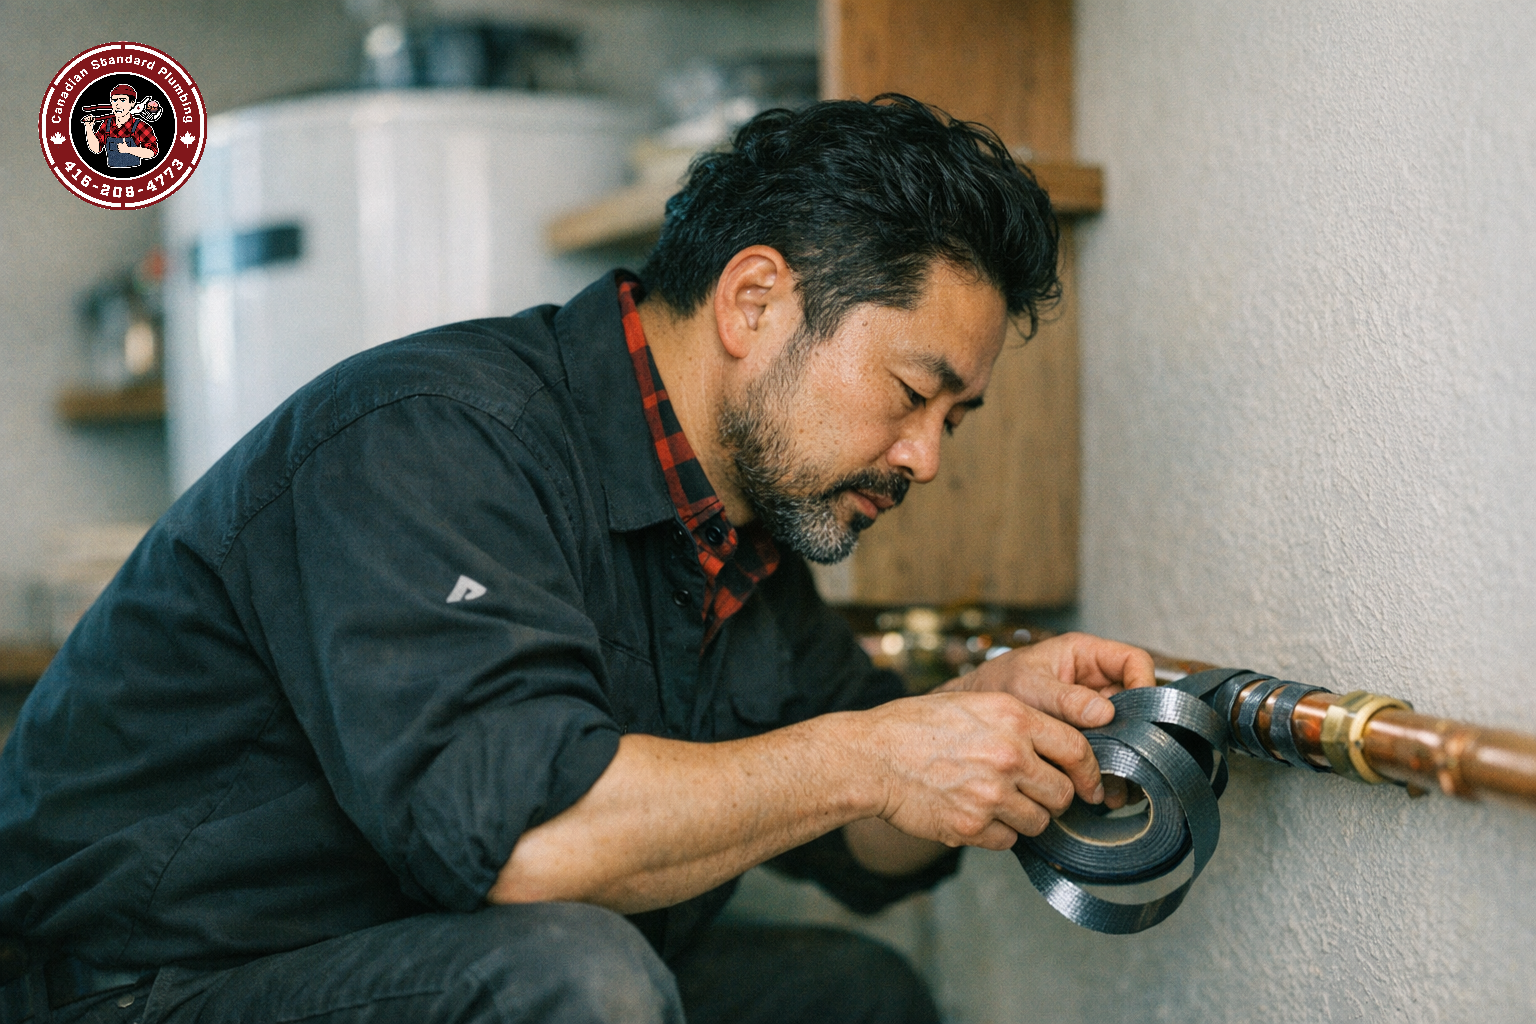
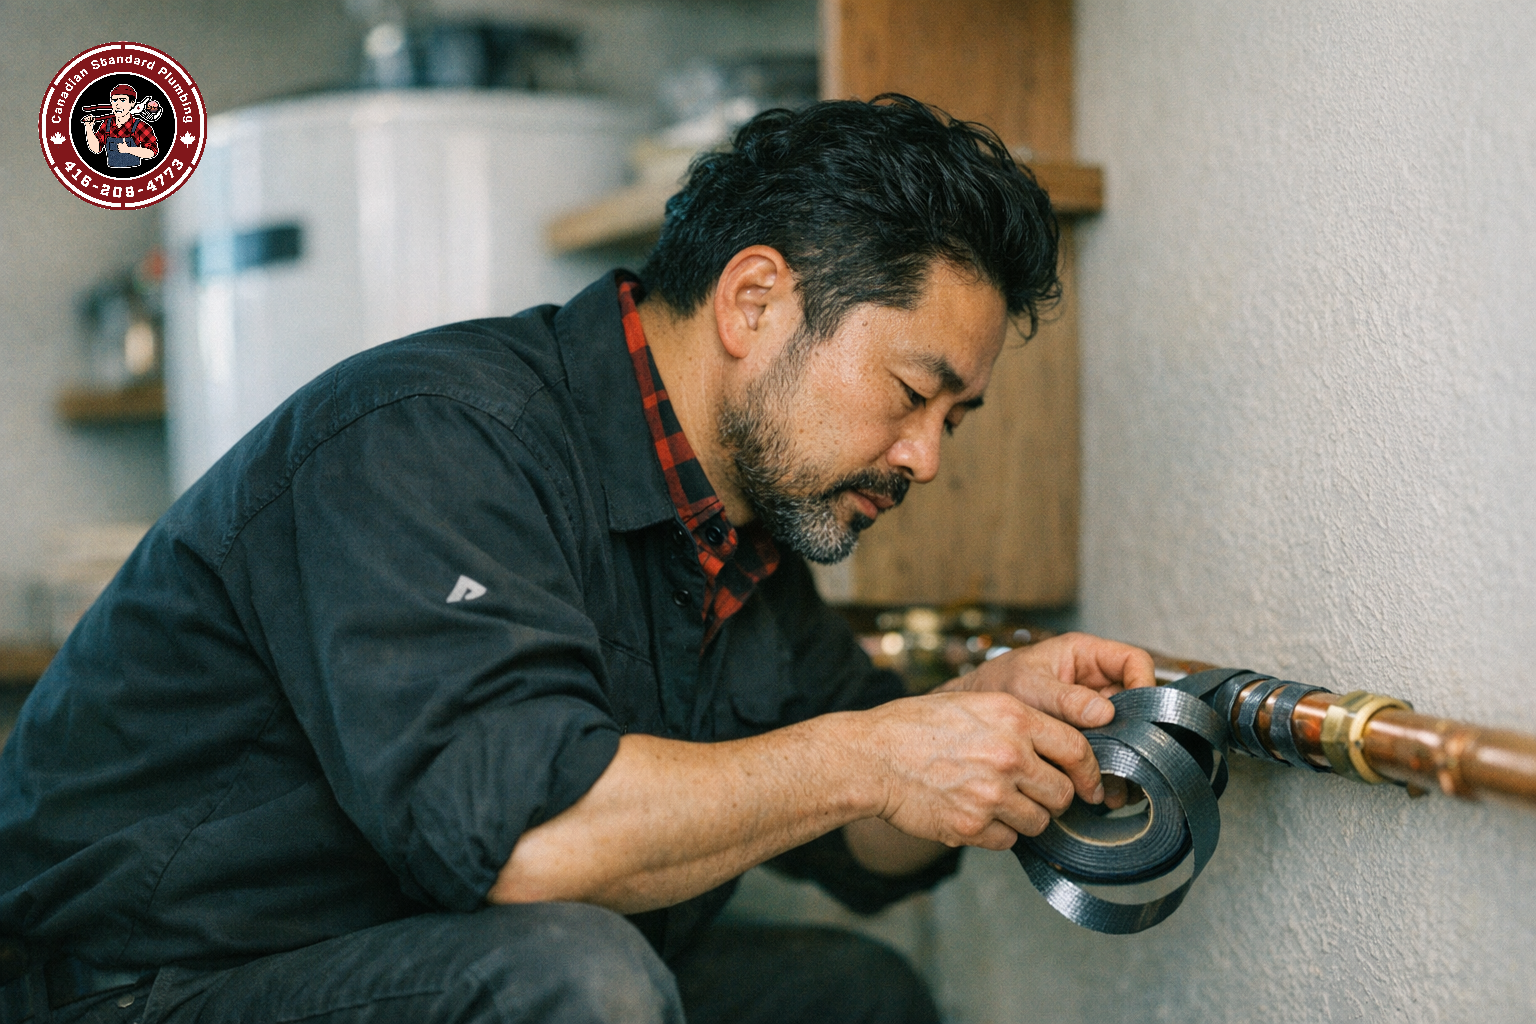
Wrap the heat tape tightly around the pipe in a spiral pattern, leaving no gaps, then cover the whole assembly with pipe insulation. The insulation traps the heat and prevents it from dissipating into the air. Measure the actual length of the run you need to protect and buy a kit rated for at least that length – heat tape should never be overlapped on itself unless the manufacturer specifically says it’s permitted, so match the kit to the pipe rather than cutting or doubling it back.
One critical rule: plug heat tape into a outlet on the same circuit as a working thermostat or timer, or install a dedicated outlet with a GFCI breaker. Leaving tape running 24/7 for four months drains money. A smart plug that turns on only when outside temperature drops below freezing cuts your heating cost by 40-60%.
4. The “Trickling Tap” Myth: When It Works and When It Doesn’t
Yes, letting a tap run at a slow trickle (the thickness of a pencil lead, roughly 0.5-1 gallon per hour) can prevent the section of pipe between the tap and the freeze point from building up solid ice. Water moving, even slowly, resists freezing longer than still water. But here’s what nobody tells you: this only works for the section of pipe after the frozen area.
If a freeze starts in your main supply line in the basement, trickling a kitchen tap upstairs won’t save the basement pipe. The ice plug forms upstream of your tap, and no amount of downstream flow helps. Additionally, letting water trickle continuously from December through March adds to your water bill all winter and doesn’t address the root cause – cold pipes in uninsulated spaces.
Use the trickle method only as an emergency response: if you hear a humming or gurgling sound in your pipes (signs of ice forming), or if weather forecasters predict an extreme cold snap, turn on one tap in the farthest room from the main entry point. It’s a short-term lifeline, not a winter strategy.
5. Smart Water Monitoring: Early Warning Before Disaster Strikes
If you’re serious about preventing frozen pipes and water damage, install a smart water monitor like Moen Flo. This device sits at your main water shutoff and tracks water pressure and flow 24/7. When a freeze begins, pressure drops – Flo detects that drop in real time and sends you a phone alert before the pipe ruptures.
A Moen Flo supplied and installed is an investment, but weigh it against what a burst pipe actually costs you – the water damage, the drying out, the deductible and the disruption, most of which lands before any insurance conversation even starts. Flo also catches slow leaks. We saw that firsthand with a Richmond Hill homeowner who called at 11 PM with water pooling under the kitchen sink – a failed braided supply connector, which we replaced with a stainless braided line and backed up with an emergency shutoff that same night. Catching one of those early is the whole argument for the device. We’ll quote the supply and installation in writing before we start.
For light-commercial properties – office buildings, retail spaces, or multi-unit residential buildings in Markham or Vaughan – a smart monitor is almost essential. A property manager with three rental units can’t afford to be out of town when a pipe freezes; Flo lets them shut off the water remotely and call a plumber before structural damage spreads.
6. Prevent Freezing in Specific Scenarios: Renovations, New Builds, and Seasonal Shutdowns
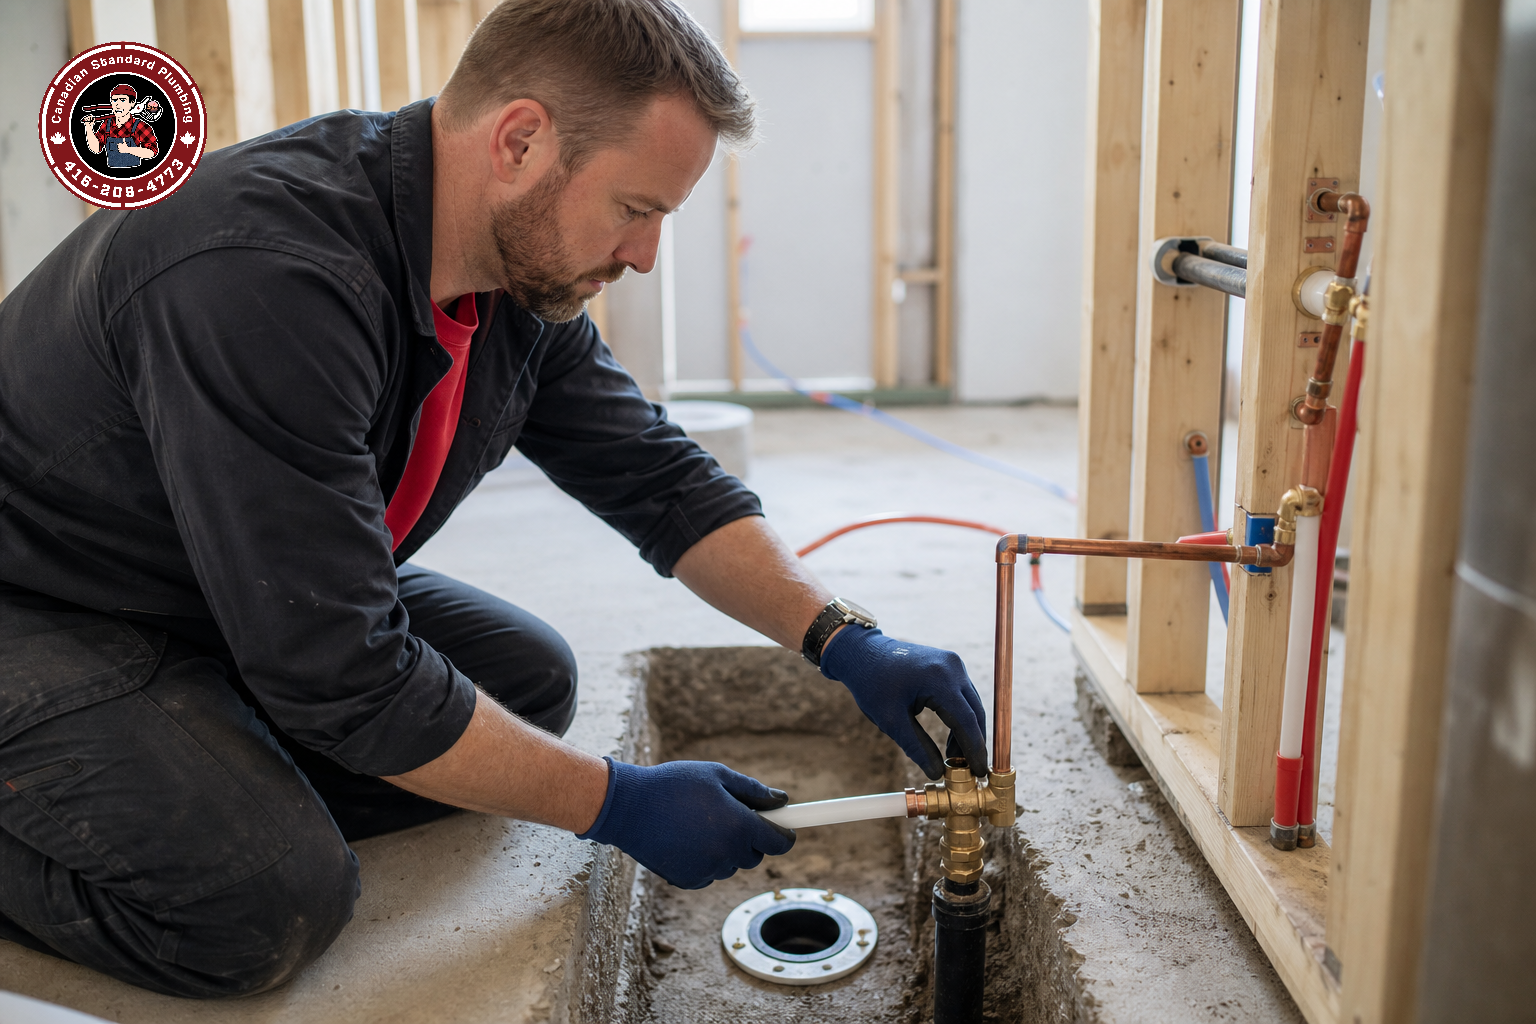
If you’re mid-renovation and have rough-in plumbing exposed (say, new bathroom supply lines in PEX before the walls close up), insulate those lines immediately, even though they’re temporary. Frost doesn’t care if it’s a demo site. We once serviced a King City client renovating their primary bathroom who found cracked terrazzo flooring from years of slow leak around the toilet – the root cause was a freeze that cracked the main waste line underneath during a winter month when the walls were open.
For seasonal properties or cottages in York Region, blow out your exterior water lines and outdoor fixtures before the first frost – typically late October to early November. Leave interior lines full but insulated, and open all interior shut-off valves so water can flow if pressure builds from ice expansion.
In new builds, ensure your contractor installed insulation on supply lines before drywall. This is your moment to enforce it – once the walls are closed, you can’t access those pipes without demolition. Rough-in plumbing for a bathroom renovation should include all necessary insulation before final closure, and we’ll give you a written quote for the rough-in scope up front so nothing gets skipped to save time.
When the Answer Is Different: Edge Cases and Special Situations
For Thornhill homeowners with radiant-floor heating or hydronic systems, the risk profile changes. Some of these closed heating loops have a glycol-based antifreeze mixed in and some run on plain water, so ask us or your plumber which one you actually have before the cold sets in. Either way, your domestic hot and cold water supply lines are a completely separate system and still need the same insulation and protection they would get in a forced-air home – and don’t assume the heat loop looks after itself if the boiler goes down.
If you have a septic system in a rural part of York Region, the distribution lines to the septic tank and leach field can freeze. Unlike city water lines, these often run at shallow depths. Ensure they’re buried below the frost line (roughly 4 feet in the GTA), or insulate them above-ground if relocation isn’t possible.
For light-commercial clients – restaurants, cafes, retail shops, or office buildings – frozen pipes in back-of-house areas (dish wash stations, bathrooms, outdoor garbage wash-down stations) are a revenue killer. A multi-unit residential building with shared risers needs centralized heat-tape management: you can’t rely on tenant awareness. Bring in a professional plumber to run a preventive inspection before November, identify all vulnerable runs, and have a protocol for emergency thawing if temperatures spike unexpectedly.
The Cost of Prevention vs. The Cost of Disaster
| Prevention Method | Typical Cost (GTA) | Effectiveness |
|---|---|---|
| Foam pipe insulation (DIY) | Quoted in writing after we see the site | 70-80% reduction |
| Heat tape + insulation (DIY) | Quoted in writing after we look at the job | 85-95% reduction |
| Professional heat-tape install | Depends on access, fixture type and parts — we quote in writing first | 90-98% reduction |
| Moen Flo smart shutoff | Depends on the device chosen and where it can be tied into the main — quoted in writing | Early alert; prevents spread |
| Emergency pipe thawing (after freeze) | Driven by scope and access — written quote before work starts | Temporary; no prevention |
| Burst-pipe water damage cleanup | Varies widely with the extent of damage and repairs needed — we price it in writing after inspection | Damage already done |
Spending a modest amount on insulation and heat tape in October is almost always cheaper than an emergency repair in January. That’s the math. Yet every cold snap we get calls in Toronto from homeowners who never invested in prevention and now need immediate thawing service. We’ll always give you a written quote before any work starts, so you can weigh prevention against the risk with real numbers in front of you.
What We See Go Wrong: Common Mistakes That Lead to Frozen Pipes
Wrapping only the visible part of the pipe
Homeowners insulate the first 5 feet of a supply line, then leave the rest bare. Ice forms at the uninsulated section. Wrap the entire exposed run or it’s pointless.
Assuming attic pipes are safe because “heat rises”
Attics are unheated spaces. Heat does not magically keep pipes warm. If a pipe in your attic doesn’t have insulation or heat tape, it will freeze before basement pipes do.
Leaving a tap running overnight without a timer
Trickling a tap all winter wastes 30-50 gallons per day. Use a smart plug with a temperature-triggered timer, not 24/7 flow.
DIY heat-tape install without a thermostat or GFCI
Heat tape running constantly can overheat and become a fire hazard. Always use a smart plug, outlet timer, or dedicated GFCI circuit that cycles on/off based on temperature.
Not knowing where the main shutoff valve is
If a pipe freezes and ruptures, you need to shut off water in seconds, not minutes. Locate your shutoff now, in October, not on a January emergency call.
FAQ: How to Prevent Frozen Pipes Toronto Winter
Yes, if the sink is on an exterior wall, cracking open cabinet doors allows warm room air to circulate around the supply lines. This is especially helpful in older homes in Etobicoke or Mississauga with poor wall insulation. It’s not a substitute for pipe insulation, but it adds a layer of protection if your cabinet is against a cold exterior wall.
Self-regulating heat tape has a polymer core that automatically reduces heat output as the pipe warms, so it never overheats. Regular heat tape runs at a constant wattage and can overheat if left on during a warm day. Self-regulating is safer and more efficient, and it’s what we recommend. It does cost more up front than constant-wattage tape, and pricing varies by brand, length and supplier – we’ll spec the right product for your run and include it in your written quote.
A hairdryer on low heat directed at the outside of an insulated pipe can work for minor surface thaws, but it’s slow and risky – a heat gun runs hot enough to damage drywall, insulation or the pipe itself. For anything more than a minor freeze, call a professional plumber. We carry specialized pipe-thawing equipment, including thermal imaging to locate the frozen section and controlled heating methods to bring it back safely without stressing the pipe. What it costs depends on access, how much of the line is frozen and whether it’s after hours – we’ll confirm the price with you in writing before we start, and it’s still far less disruptive than a burst pipe.
Yes, but insulation and heat tape are critical. First, insulate the rim joist (the wooden band where the main water supply enters) with rigid foam or fiberglass batts. Second, wrap all exposed supply lines with pipe insulation sized to fit the pipe snugly, with no gaps at joints or elbows – your supplier or your plumber can confirm the right size and type for each run. Third, install heat tape on any lines that run along the perimeter or under doors. Finally, make sure crawl-space vents are closed or sealed for winter – open vents let cold air funnel directly across your pipes. If you’re a property manager with multiple units, have a plumber inspect the crawl spaces in the fall; a planned prevention visit is consistently cheaper and less disruptive than an emergency repair and the water damage that follows.
Sources
- How freezing temperatures affect water pipes – Ready.gov Winter Preparedness
- Preventing frozen pipes in Ontario – Ontario Home Energy Audit
- Moen Flo smart water monitor specifications and installation – Moen.com Flo Smart Water Shutoff
- Frost line depth for the Greater Toronto Area – Ontario Geotechnical Council (OGC)
- Canadian Standard Plumbing’s 24/7 emergency service and real pricing – Canadian Standard Plumbing
Canadian Standard Plumbing
Professional service available 24/7. Fast response from Daniel and our team, with a written quote before we start.
🎧 Listen to article
- A Customer Asked: “My Hot Water Runs Out After 8 Minutes — Is My Bradford White Tank Dying or Just Sediment-Lo
- A Vaughan Customer Asked: “Why Is My Water Heater Popping After 8 Years?” — The Real Cause
- A Customer Asked: “Why Is My Water Heater Making a Popping Noise at Night?” — Our Honest Answer
- How We Found a Hidden Slab Leak Under a Vaughan Kitchen — Before It Destroyed the Hardwood
- How a Drain Camera Found the Real Cause of Recurring Backups at a Toronto Retail Plaza