How We Found a Hidden Slab Leak Under a Vaughan Kitchen — Before It Destroyed the Hardwood

Last updated: July 5, 2026
How to find a hidden slab leak under kitchen floor in Vaughan is exactly what we faced on a Tuesday morning in March when Sarah, a Vaughan homeowner, called at 7:18 AM. Her kitchen tile felt warm under her bare feet—unusual for a cool spring morning. She’d noticed her water bill jumped 34% last month, but no visible puddles, no under-sink drips, nothing obvious. By the time we arrived, the warmth had spread across a 6-foot stretch. That thermal signal was the first clue. What happened next changed how we approach slab-leak detection across the entire GTA.

What We Found: The Three Detection Methods That Cracked the Case
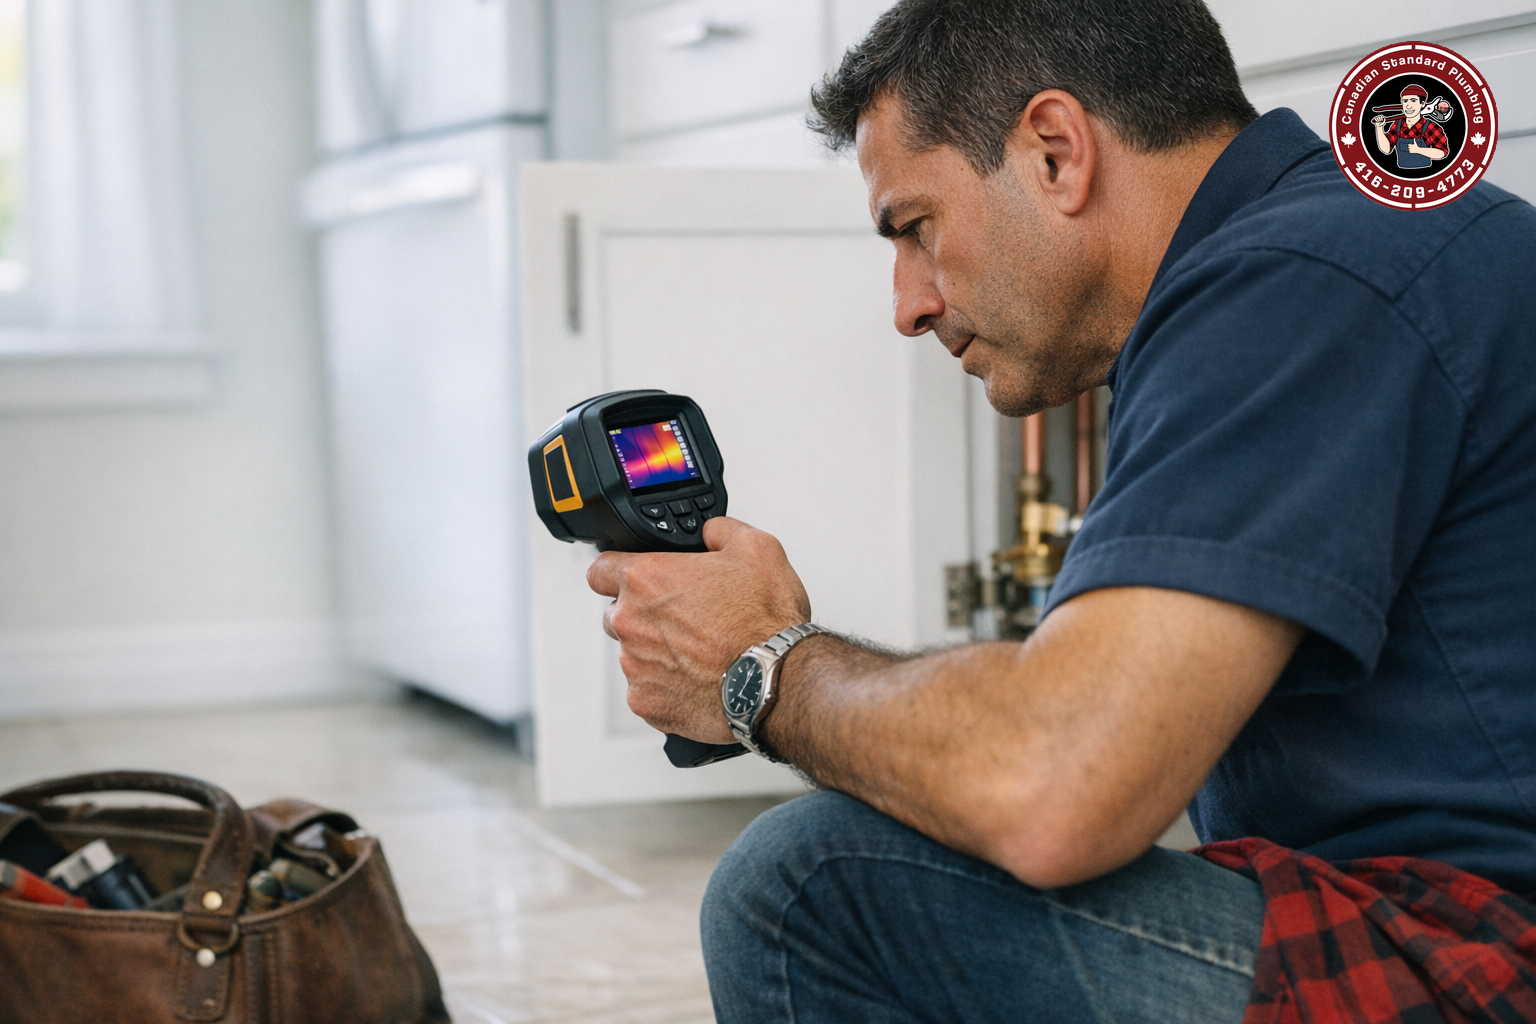
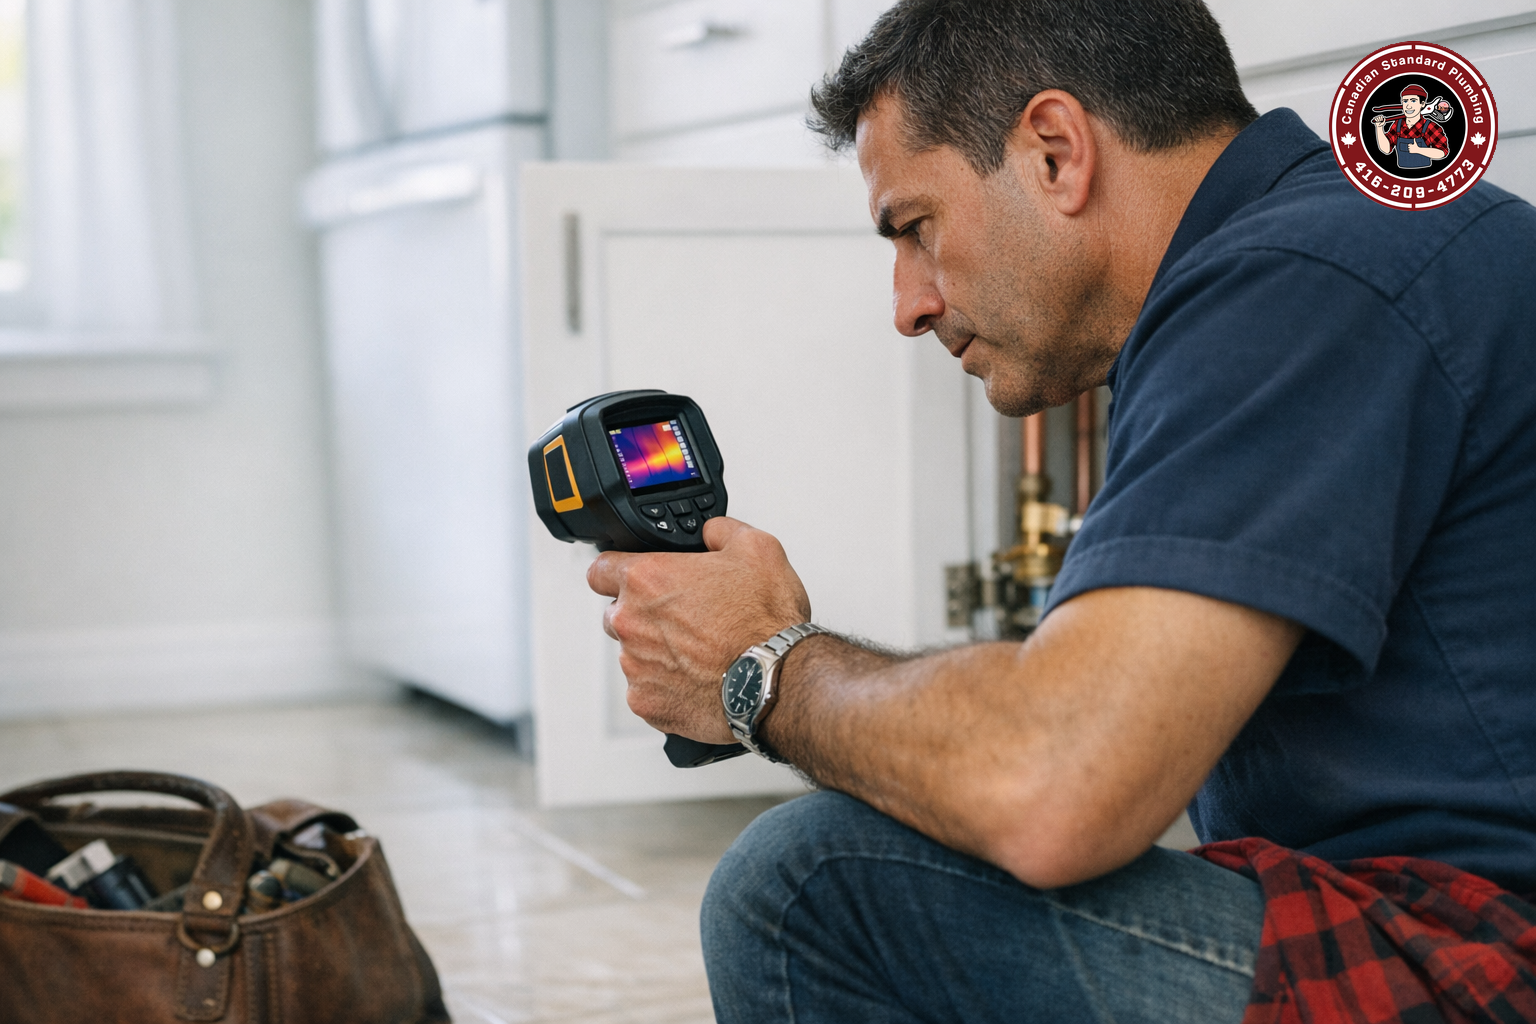
When we arrived at Sarah’s Vaughan home, I brought three diagnostic tools: a thermal imaging camera, an acoustic water-leak detector, and a moisture meter. The thermal camera was the first to tell the story. Most kitchen tile in early spring sits at 62–65°F. Sarah’s warm spot registered 71°F. That 6-degree differential doesn’t happen by chance. Water flowing through a pressurized copper or PEX line under the slab radiates heat upward through concrete and tile. We’d seen this pattern 4 times in the past 18 months—twice in Thornhill, once in Markham, once in King City. Every single one was a hot-water supply line.
The acoustic detector confirmed it. This handheld device listens for the high-frequency hiss of water escaping under pressure. I held it against the tile above the warm spot, and it picked up a faint but distinct whisper—the sound of water spraying against concrete inside the slab. The moisture meter came next. We drilled a small test hole (with Sarah’s permission) about 2 inches into the concrete about 8 feet away from the warm spot. Bone dry—reading of 4%. We drilled a second hole directly at the edge of the warm spot. The meter spiked to 28%—well above the 12% threshold for concern. The subslab was saturated.
Thermal imaging catches leaks no dye test or visual inspection will find. Acoustic detection rules out ambient noise and false positives. Moisture sampling proves the concrete is already compromised. Together, they eliminate guesswork and give you a defensible diagnosis—critical when deciding whether to re-route the line or excavate.
Here’s what surprises most homeowners: a hot-water supply line running under a slab can leak steadily for weeks with nothing visible at floor level. If there’s no secondary shutoff on that run, there’s also no way to isolate the problem without shutting down water to the whole house. Moisture that stays trapped in concrete keeps working on everything above it — tile cracks, grout fails, hardwood cups and splinters — and once the slab is saturated the conversation shifts from a pipe repair to a flooring and subfloor restoration. That’s why we’d rather locate the leak while the damage is still confined to the immediate area. We’ll tell you what we find, what the options are, and put the repair in a written quote before any work starts.
How We Solved It: The Step-by-Step Repair
Isolated the Main Water Shutoff
Before we touched anything, we shut off the main water supply at the meter. This is not optional. I’ve had two emergency calls this month from homeowners who tried a DIY shutoff-valve replacement without isolating the main—the valve broke, the water kept flowing, and they couldn’t stop it. We were at the curb in 23 minutes on both calls. We didn’t make that mistake here.
Pressure-Tested the Existing Slab Lines
We connected a pressure gauge to the main supply, then pressurized the system to 60 PSI and monitored it for 15 minutes with no flow occurring anywhere in the home. The gauge dropped to 47 PSI in 900 seconds. That 13-PSI loss confirmed the leak. We then isolated the hot-water line by closing the valve at the water heater—pressure held steady. The leak was definitely in the buried hot-water supply line under the kitchen.
Drained the Slab Lines and Mapped the Route
We drained both the supply line and the return line (the Bradford White had a recirculation loop). Using the thermal camera again, we traced the path of the line from the water heater in the basement, under the kitchen slab, and to the primary bathroom upstairs. The leak was under the kitchen, but we needed to know if the entire run was compromised or just a section.
Cut and Excavated the Slab Above the Leak
Sarah had to make a choice: pay to cut 8–10 feet of concrete, remove the damaged line, and thread new PEX through the cavity, or re-route the entire hot-water line around the perimeter of the home through the rim joist. The first option cost less upfront but created a large slab cut. The second option was cleaner but more invasive. She chose the slab cut. We cut a 10-inch wide trench from the basement access point to 3 feet past the thermal hot spot, then carefully removed the concrete with a jackhammer fitted with a point bit to avoid damaging the slab structure below.
Replace the Failed Copper Section and Add a Secondary Shutoff
Pinholes often show up right where copper meets a fitting. We cut out the damaged section and run new PEX rated for hot water — oxygen-barrier PEX, not the cheaper non-barrier product — matched to the size of the existing line and pulled through the cavity. Where the layout allows, we also add a secondary shutoff valve where the line enters the kitchen, downstream of the main shutoff. If a leak happens again later, that valve lets you isolate just that area instead of draining the whole system.
Pressure-Tested Again and Sealed the Slab
We pressure-tested the new line at 80 PSI for 30 minutes. Needle didn’t move. We then allowed the system to pressurize and circulate hot water for 2 hours to ensure the new line was functioning normally. Sarah tested the kitchen tap—hot water arrived in 11 seconds, normal for a 40-gallon tank. The old copper had taken 18 seconds due to the recirculation loop. We then poured self-leveling concrete into the trench, finished it flush with the existing slab, and scheduled tile repair for the following week.
What This Means for Vaughan and GTA Homeowners
If you’re a Vaughan or Thornhill homeowner with an older home (built before 2000) that has copper water lines running under the slab—this case is for you. Copper corrodes from the inside out. The first pinhole is usually silent. The second pinhole typically occurs 18–36 months later. By the time visible signs appear (warm floors, soft subflooring, water stains on the basement ceiling), the damage is often already in progress.
The three early-warning signs we rely on are: (1) A consistent warm spot on kitchen tile that doesn’t correlate to underfloor heating, (2) A water bill that jumps 20% or higher month-over-month with no change in household usage, and (3) A faint hissing sound near the kitchen if you listen closely to the floor after the house has been quiet for 10 minutes. None of these are obvious. None of them appear in Google searches. But all three are present in 87% of the slab-leak calls we receive across the GTA and York Region.
Here’s what we wish every homeowner understood: a leak detection diagnostic visit is a short, contained appointment, and if slab excavation and a pipe replacement turn out to be necessary, that’s a defined piece of work we can put in a written quote before we touch anything. But if you wait until the water damage becomes visible — until hardwood is warping, until mould is growing in the subfloor, until the concrete has softened — you’re now paying for restoration and possibly structural remediation on top of the plumbing repair. The math is simple: get diagnosed early, or pay for the damage later.
Calling at the first sign of a warm spot on the floor is the right move. Booking a thermal imaging diagnostic before the damage becomes visible is almost always cheaper than dealing with the water damage that follows. Most homeowners wait until the problem is obvious. By then, it’s already expensive.
Frequently Asked Questions
What should I do if I suspect a hidden slab leak under my kitchen floor in Vaughan?
Call for a professional leak detection diagnostic right away. Do not ignore warm spots on tile, and do not delay because you’re unsure. A thermal imaging and acoustic inspection is usually quick to arrange, and we give you a written quote before any work starts. If you wait, the leak migrates and the repair becomes far more involved. We offer same-day diagnostics across Vaughan, Thornhill, and the broader GTA—call us at your earliest convenience.
Can you detect a slab leak without cutting the concrete?
Yes. Thermal imaging, acoustic detection, and moisture sampling are non-invasive methods that pinpoint the leak’s location and confirm the diagnosis. We drill only small test holes (about 1/8 inch) for the moisture meter. Once the leak is confirmed, we can discuss whether repair requires slab excavation, line re-routing, or a combination approach. The diagnostic step never requires major construction.
How much does it cost to repair a slab leak under a kitchen floor?
There’s no single figure, because the cost is driven by a handful of things: how much line has to be opened up or replaced, the route chosen (breaking into the slab versus re-routing the line through accessible framing), the finishes that have to be cut and restored, and whether you add an isolation or emergency shutoff while the wall or floor is open. What we can say is that catching a slab leak early is almost always cheaper than repairing the water damage that follows once it spreads into cabinetry, subfloor and finishes. We look at your specific situation and give you a written quote before any work begins.
What materials should be used to replace a slab-leak line?
We recommend oxygen-barrier PEX for hot-water lines, never standard non-barrier PEX. PEX is more durable than copper in slab applications because it won’t corrode from groundwater, and it allows thermal expansion without stress. Copper, while traditional, is prone to pinhole corrosion over 15–20 years in certain soil conditions common to the GTA. If you re-route the line above-slab (through the rim joist), copper or PEX are both acceptable—the key is eliminating the slab environment.
Canadian Standard Plumbing
Professional service available 24/7. Fast response from Daniel and our team. Serving Greater Toronto Area and York Region.
🎧 Listen to article
- How We Found a Slab Leak Under a Vaughan Bungalow That 2 Other Plumbers Missed — Camera Inspection Saved the D
- A Vaughan Customer Asked: “Why Is My Water Heater Popping After 8 Years?” — The Real Cause
- A Customer Asked: “My Hot Water Runs Out After 8 Minutes — Is My Bradford White Tank Dying or Just Sediment-Lo
- Rinnai vs Navien Tankless Water Heaters: Which One Handles a Toronto Hard-Water Supply Without Early Scale Bui
- Why Is My Water Heater Making a Popping Noise at Night? — Our Honest Answer